Your Cart is Empty
DYNAMITE STARFISH'S ONLINE STORE IS CLOSED AS OF DEC 1, 2026. ask your local gear shop or climbing gym if they stock our products.
DYNAMITE STARFISH'S ONLINE STORE IS CLOSED AS OF DEC 1, 2026. ask your local gear shop or climbing gym if they stock our products.
Easy Strategies for Projecting in Climbing (and Sending!)
July 24, 2024 6 min read
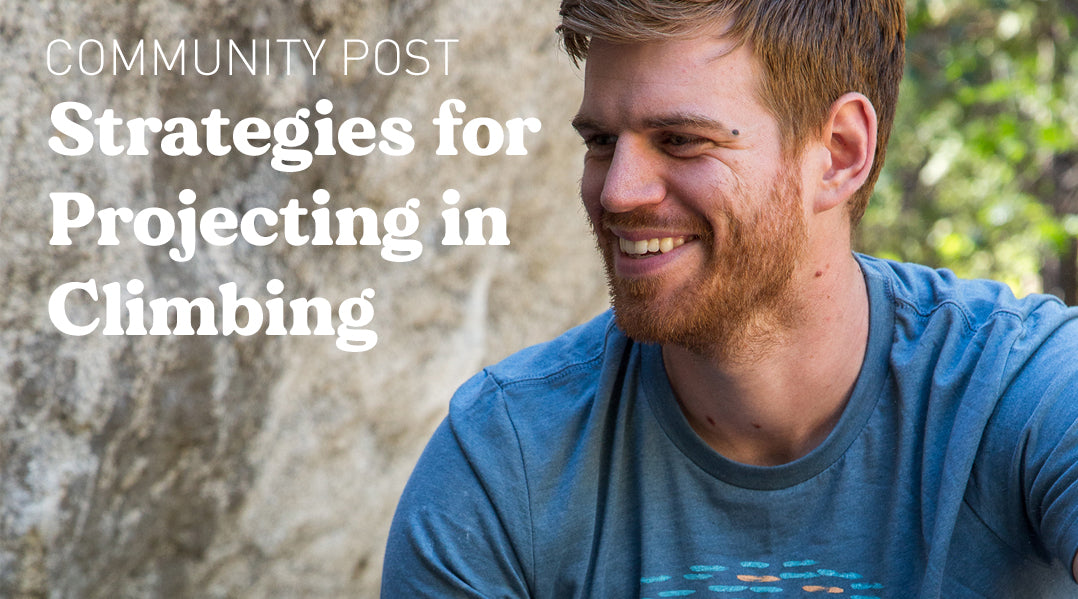
Climbing at your limit can be exciting, frustrating, challenging, and nerve-wracking...all at the same time! We totally get it.
But it can also be an extremely fulfilling process when approached with a good strategy and positive mindset.
We recently asked our own Dynamite Starfish community members for their best tips on how to send your climbing project.
Scroll on to read their golden nuggets!
What is projecting in climbing?
WAIT!!!! So what exactly is projecting in climbing?
In its simplest form, projecting in rock climbing refers to any time a climber needs multiple attempts to successfully complete a route or boulder from bottom to top without falls.
Projecting usually entails working the individual moves and trying different sequences, aka beta, to find the most efficient way to reach the top of the climb.
Some folks purposely seek out 'day projects'. These are great because they provide the right amount of difficulty to complete in a single climbing session.
However, projecting for most climbers is when a climb takes multiple days or weeks of effort to finish.
As ridiculous as it sounds, it's all about that addicting feeling you get when you Try, Try, Try...and SEND!
Oh...and if you hear a climber talking about an epic?
That's just a prettier way of saying you've invested an absurd amount of time or emotion into sending the 'proj'.
Start with a plan and goals to achieve
Before pulling on the wall, take time to analyze the climb. Think about the types of hand holds, foot holds, rest positions, and techniques that might help get you through tricky sections.No worries if you don't manage to send the climb on your first attempt (aka flash). You've got a new project!
The next step is identifying which sections of your route or boulder will be the easiest and which you think will be the most difficult. Some climbs have one obvious crux (most difficult move). Others may have multiple cruxes or an easier move that becomes the crux when linking everything together from the ground.
Work each individual move or section in isolation beginning with the easiest parts first. Even if you think you'd never fall on a move, resist the urge to skip trying it at least once. Your pumped-out, nervous climber self will thank you later!
"Don't forget to take time to rest in between efforts so you can try hard with every attempt. If you fall off, take a moment to reflect on why and then have a plan to address it in the next go." @_krisstiee
Continue with this approach until one of the following:
1.) You successfully climb all the moves. Yay. Have a good rest and consider giving it a few send burns!
2.) You identify that you cannot do one or multiple moves. Try the move(s) 4-6 times. Switch to a different move once you reach the allotted number of attempts or as soon as you notice a decrease in mental or physical power.
3.) You begin to get frustrated, fatigued, or have any sort of pain from repetitive movements. It's time to leave your climbing project for another day. Move to a totally different climb or end your session altogether.
Pro Tip: Keep things fresh by having a few side projects of varying difficulties. Climbs where you do all the moves quickly on day one but run out of steam to send are great candidates!
For example, imagine you want to send a V6 on the Moonboard. If you are motivated to continue projecting after trying your main climb, give a few goes on a V4 or V5 that you were close on before!
Take, clip up, and be creative with different beta!
Type II Fun is cool, but is it really necessary to take a massive whipper every time you go for a hard move? Yeah...NOPE.
"If you're already projecting it, there's no reason to scare yourself more than you need to! Getting rid of the fear of the unknown helps so so much!!" @tashofthewasatch
Stick clips were invented for a reason. There's no shame in using them to get a draw or rope in place so you can try a move without the fear of falling!
Bouldering can also lead to some nasty falls, especially on steep overhangs or when there's an obstacle nearby (i.e. tree, rock, wall). Ask a partner to guide you through the movement while you gain confidence. They don't necessarily need to take off weight, the goal is simply to be ready to make the fall a little more enjoyable.
Lastly, remember that beta vids aren't an end-all solution to sending your climbing project.
A few years back, I found myself staring at a long thuggy move right off the ground on a V10. Would you believe me if I said the winning beta involved a feet-first bicycle with one shoe off to get a toe jam with a taped-up big toe?
Sure...that wacky heel hook or unchalked hold won't work 99% of the time. But it's absolutely magic when it does!
Don't worry about the final send because it's all training anyway!
There's no escaping those send jitters.
And the closer you are to sending your project, the more likely you'll start getting nervous or anxious.
Step back and congratulate yourself — you've realized that achieving success is finally possible!
For multi-day projects, one less popular but highly effective approach is to warm up ALL of the difficult moves before giving send burns. While it does require using some strength, it allows you to build confidence naturally and find new micro-beta.
Challenge yourself to keep the Good Climbs, Good Vibes flowing even when your project session isn't going how you imagined. All of your hard work is going towards a big send whether it be today on this project or tomorrow on a different one!
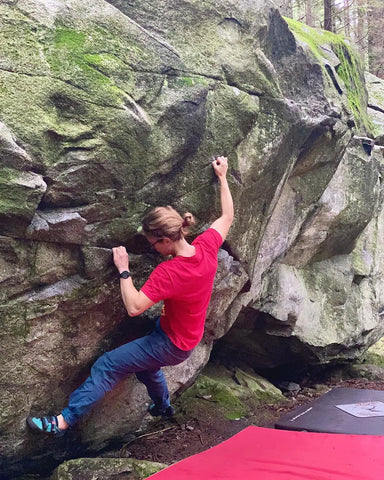
(Photo courtesy of @lrthomps)
Pro Tip: In our experience, boulderers are usually able to give 4-8 quality send attempts in a single climbing session while route climbers will be more in the 2-4 range.
Adjust these numbers slightly depending on where you are falling, how you are feeling on a certain day, and the style of climbing.
Your progress looks different than others
If you've hung around in the climbing gym long enough, you probably know that some projects go quickly and others....well....
With more folks climbing (and videoing) than ever before, it's tempting to start comparing as soon as frustration hits.
"He's a V10 climber, of course it's easy for him. She's 5 inches taller than me and makes that crux look super chill. I've only been climbing 6 months and love bologna sandwiches. UGHHHHH!"
You get the point. Remind yourself of this the next time you're in a rut on your climbing project:
"Don’t walk away, appreciate the little successes, and evaluate what didn’t work and why. Most importantly, your progress looks different than others. The only person you're competing against is yourself and your ego." @kilterkt

Disclaimer: When you're pumped, shaking, and your hands are sweating, sometimes your words get the best of you.
But your friends might just let it slide if you're wearing our cheeky I'm Sorry For What I Said While I Was Cruxing tee...
Work the beta then spend the rest of the session talking to friends and avoiding the climb
Huh? Are you sitting there thinking, "Soo how do I send my climbing project if I avoid the climb?"
As counterintuitive as it sounds, this piece of advice from @erin.m.o is actually one of our favorites. We always say that the best climber is the one having the most fun. Climbing on your project should have you feeling Stoked!
Keeping a positive relationship with your project goes a long way towards achieving success. Don't be afraid to wrap up a session early if you're feeling tired or hungry, notice changes in weather conditions, or have an unexpected surprise like a friend arriving at the crag. It might be a much-needed mental break!
And most importantly...Try Hard & Have Fun out there folks!
What are your thoughts? Do you have tactics or tips for sending your climbing project?
Share your thoughts in the comments below. We'd love to hear from you!
Psst…Our tees are a great conversation starter!
With so many styles, we know you’ll be the climber having the most fun at the crag.
SHOP OUR UNISEX CLIMBING APPAREL:
Leave a comment
Comments will be approved before showing up.
Also in News
The Climbing Training Struggles You Can’t Ignore (And How to Overcome Them)
March 19, 2025 6 min read
Read More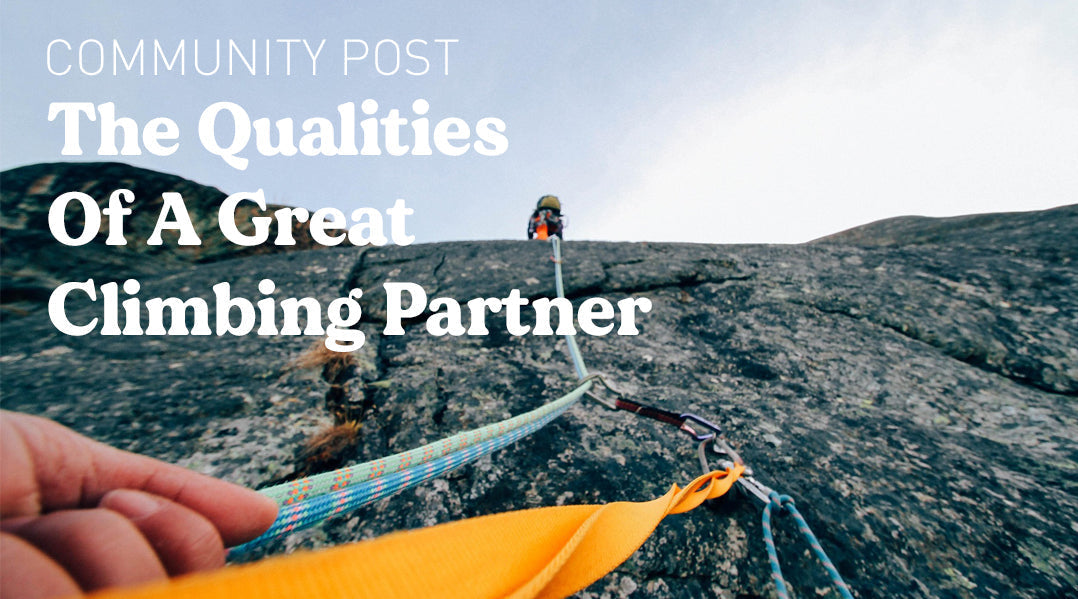
Building Trust and Teamwork: Qualities of a Great Climbing Partner
February 12, 2025 4 min read
Read More Recent Articles
- The Climbing Training Struggles You Can’t Ignore (And How to Overcome Them) March 19, 2025
- Building Trust and Teamwork: Qualities of a Great Climbing Partner February 12, 2025
- Climber Story: Bex Ballow January 29, 2025
- 9 Climbing Resolutions for 2025 December 31, 2024
- Climber Story: Kanani Kalahiki December 11, 2024
- 12 Awesome Gift Ideas for Climbers in 2024 November 20, 2024
- Climber Story: Nick Ranelli November 06, 2024
- If climbing was a scary movie, this would be the title... October 30, 2024
- Climber Story: Britney Berkstresser October 02, 2024
- The best (and worst) names for climbing routes we've ever seen September 25, 2024
Subscribe
Sign up to get the latest on sales, new releases and more …
want 15% off?
Get a welcome gift when you sign up with us!


