Your Cart is Empty
Moonboard 101: A Breakdown for Beginner and Advanced Climbers

Take a quick scroll through social media these days and you'll likely come across one of the biggest fads in our climbing generation...the Moonboard.
Maybe you've seen one in the corner of your gym or even mustered up the courage to hop on a few times. You might even find yourself asking things like 'Is the Moonboard for beginners?' or 'Am I strong enough to Moonboard?'
The good news is that you can likely already begin to climb on a Moonboard with the correct approach!
Today, we'll dive into some Moonboard 101 and talk about how you can incorporate this into your climbing routine.
The Moonboard now boasts three different setups, two of which have logged problems at both 25° and 40° overhangs. Each setup has its own personality and climbing style.
The holds on the Moonboard 2016 tend to be extremely crimpy and usually give the most options for shorter climbers. Being the oldest kit, it also has the most logged problems.

(Watch out for those nasty yellow crimps..)
The Moonboard 2017 introduced more ergonomic holds and has a variety of slopers and ball-shaped pinches. Larger holds allow for some great lower-level climbs but often mean more spanning as you work your way up the grades.

(Get ready to squeeze hard on the funky, red holds.)
The Moonboard 2019 combines the best of both worlds along with adding wooden holds. Keep Climbing because this thing is skin-friendly!

(All of the light-brown holds are wood...yesss please!)
When scrolling through boulders on your Moonboard app, you'll see three different colored circles placed around the holds: Green indicates start holds, red are the finish holds, and blue circles are other holds you can use to complete the climb.

Here are three simple rules to keep in mind while using the Moonboard:
#1 Boulders are usually set using 'feet follow hands' rules. This means that all hand holds are usable as a foothold along with any yellow squares on the kickboard. Any special rules about feet will be included in the Moonboard app under the problem details which can be found by clicking the info icon.
#2 Matching, heel hooking, toe hooking, and using any part of the hold are all fair game!
#3 Climbs start with two hands. One green circle means that you should match the start hold before lifting off. A climb is completed by showing control for two seconds on the top hold(s).
And that's it! All that's left is to Try, Try, Try...and Send!
If you find that the grades seem stiff, don't give up all hope yet. Instead of using the normal 'feet follow hands' rules, climb your chosen Moonboard problem using the given handholds and any hold as a foot. You can reclimb the problem again designating fewer and fewer feet until you're ready to give the original a go.
Pro Tip: Use the Moonboard only after completing a proper, full-body warm-up. Keep sessions short and sweet even if you think you're still feel fresh. Less is more when it comes to powerful moves!
To structure a projecting session on the Moonboard, start by selecting 2-3 different boulder problems at your max redpoint grade. Aim to spend about 10-20 minutes working on individual moves or short links on each problem. Avoid giving send burns from the ground until you've done each move successfully at least once.
Once you finish working on your projects, lower the difficulty 1-3 grades if you notice there's still some energy in the tank for more Type 2 Fun.
Sometimes 'easier problems' have a tough move, so don't be afraid to add these boulders to your list of projects for another day. End your session as soon as you feel your power drop or you start to pop feet where you normally wouldn't.
And since climbing alone can be a drag, be sure to check out this round-up of Games & Training Ideas to see which ones you could try on the Moonboard.
Pro Tip: Look for sneaky bicycle moves to help match desperate finish holds.
There are several different approaches you can take to turn this overhang into an endurance training tool.
First, set your own circuit aiming for anywhere between 10-25 moves depending on the intensity you're looking for. If you aren't a fan of creating your own routes or problems, look for two pre-set problems at or below your flash grade. Climb the first problem, down climb to the starting holds of the second problem, and repeat.
Second, complete a bouldering 4x4 workout. Start by selecting 4 problems at or below your flash grade that you've already completed. Climb the first problem, jump off to grab chalk (about 15-30 seconds), then climb the second problem. Repeat until you've done all four problems to complete your first set. Take 4-8 minutes rest and repeat for a total of four sets. Your goal should be to successfully finish, or almost finish, each of the four boulders during a set. If you reach failure, increase your rest or lower the intensity of your boulders.
Pro Tip: Use the Moonboard app to create lists of projects or problems you use during your endurance workouts.
SHOP OUR UNISEX CLIMBING APPAREL:
Maybe you've seen one in the corner of your gym or even mustered up the courage to hop on a few times. You might even find yourself asking things like 'Is the Moonboard for beginners?' or 'Am I strong enough to Moonboard?'
The good news is that you can likely already begin to climb on a Moonboard with the correct approach!
Today, we'll dive into some Moonboard 101 and talk about how you can incorporate this into your climbing routine.
What is the Moonboard?
With well over 100,000+ problems, it's no surprise that the Moonboard has grown a cult-like following around the world! If you're looking to improve at poppy, dynamic climbing on a steep overhang, then you've come to the right place.The Moonboard now boasts three different setups, two of which have logged problems at both 25° and 40° overhangs. Each setup has its own personality and climbing style.
The holds on the Moonboard 2016 tend to be extremely crimpy and usually give the most options for shorter climbers. Being the oldest kit, it also has the most logged problems.
(Watch out for those nasty yellow crimps..)
The Moonboard 2017 introduced more ergonomic holds and has a variety of slopers and ball-shaped pinches. Larger holds allow for some great lower-level climbs but often mean more spanning as you work your way up the grades.
(Get ready to squeeze hard on the funky, red holds.)
The Moonboard 2019 combines the best of both worlds along with adding wooden holds. Keep Climbing because this thing is skin-friendly!
(All of the light-brown holds are wood...yesss please!)
Moonboard Rules
One of the things to love (or hate) about the Moonboard rules are how inherently simple they are in practice.When scrolling through boulders on your Moonboard app, you'll see three different colored circles placed around the holds: Green indicates start holds, red are the finish holds, and blue circles are other holds you can use to complete the climb.
Here are three simple rules to keep in mind while using the Moonboard:
#1 Boulders are usually set using 'feet follow hands' rules. This means that all hand holds are usable as a foothold along with any yellow squares on the kickboard. Any special rules about feet will be included in the Moonboard app under the problem details which can be found by clicking the info icon.
#2 Matching, heel hooking, toe hooking, and using any part of the hold are all fair game!
#3 Climbs start with two hands. One green circle means that you should match the start hold before lifting off. A climb is completed by showing control for two seconds on the top hold(s).
And that's it! All that's left is to Try, Try, Try...and Send!
How to use the Moonboard for beginners
The Moonboard is notoriously sandbagged and sets a high bar in terms of its entry-level grades. The 2016 set-up begins with V4 (6B+) while the newer 2017 and 2019 kits start at V3 (6A+). Just take these numbers with a grain of salt!
Climbers who have only been bouldering for a few months or are working up to their first V4-5s will gain more technique and skill from regular gym setting, but since it's hard to resist giving the Moonboard a try...
Start by downloading the Moonboard app or check to see if your gym uses a fixed tablet to control the (optional) LED lights. Creating a profile on the Moonboard app gives you a virtual logbook to track your sends and puts 1000s of problems at your fingertips. All that's left is to choose your first boulder and Climb On!
If you find that the grades seem stiff, don't give up all hope yet. Instead of using the normal 'feet follow hands' rules, climb your chosen Moonboard problem using the given handholds and any hold as a foot. You can reclimb the problem again designating fewer and fewer feet until you're ready to give the original a go.
Pro Tip: Use the Moonboard only after completing a proper, full-body warm-up. Keep sessions short and sweet even if you think you're still feel fresh. Less is more when it comes to powerful moves!
Projecting on the Moonboard
Many climbers find it extremely motivating to track progress on a wall where the boulders literally never disappear. If you've never given indoor projecting a shot, this might be a place to start.To structure a projecting session on the Moonboard, start by selecting 2-3 different boulder problems at your max redpoint grade. Aim to spend about 10-20 minutes working on individual moves or short links on each problem. Avoid giving send burns from the ground until you've done each move successfully at least once.
Once you finish working on your projects, lower the difficulty 1-3 grades if you notice there's still some energy in the tank for more Type 2 Fun.
Sometimes 'easier problems' have a tough move, so don't be afraid to add these boulders to your list of projects for another day. End your session as soon as you feel your power drop or you start to pop feet where you normally wouldn't.
And since climbing alone can be a drag, be sure to check out this round-up of Games & Training Ideas to see which ones you could try on the Moonboard.
Pro Tip: Look for sneaky bicycle moves to help match desperate finish holds.
Moonboard for power endurance and sport climbers
But isn't the Moonboard only for hard, limit bouldering moves? Think again.There are several different approaches you can take to turn this overhang into an endurance training tool.
First, set your own circuit aiming for anywhere between 10-25 moves depending on the intensity you're looking for. If you aren't a fan of creating your own routes or problems, look for two pre-set problems at or below your flash grade. Climb the first problem, down climb to the starting holds of the second problem, and repeat.
Second, complete a bouldering 4x4 workout. Start by selecting 4 problems at or below your flash grade that you've already completed. Climb the first problem, jump off to grab chalk (about 15-30 seconds), then climb the second problem. Repeat until you've done all four problems to complete your first set. Take 4-8 minutes rest and repeat for a total of four sets. Your goal should be to successfully finish, or almost finish, each of the four boulders during a set. If you reach failure, increase your rest or lower the intensity of your boulders.
Pro Tip: Use the Moonboard app to create lists of projects or problems you use during your endurance workouts.
Using climbing boards doesn't need to be intimidating or scary, and we hope this Moonboard 101 will give you some ideas on how to incorporate this tool into your climbing routine.
If you have questions or ideas you'd like to share about how to use the Moonboard for beginners or advanced climbers, leave us a comment below! We’d love to hear from you.
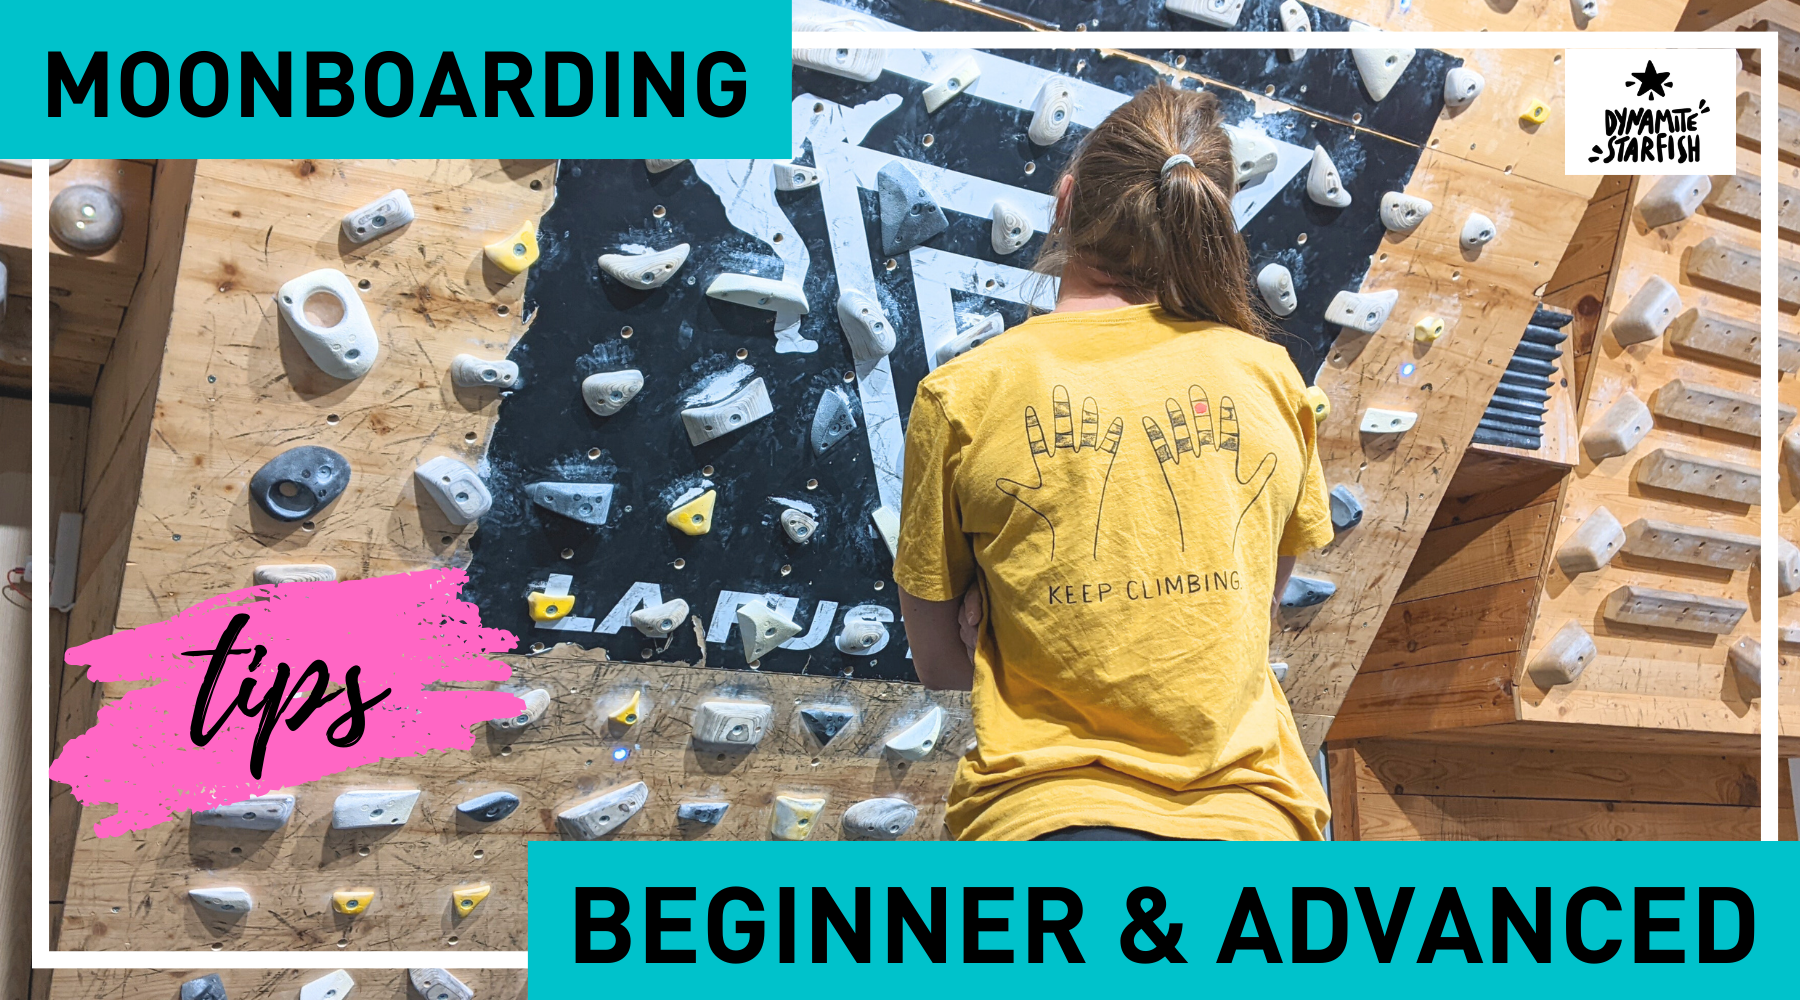
Psst…Our Try And Send tee is a great conversation starter!
This comfy top lets the world know you're ready to Keep Climbing even when the going gets tough. With so many styles, we know you’ll be the climber having the most fun at the crag.
SHOP OUR UNISEX CLIMBING APPAREL:


Leave a comment
Comments will be approved before showing up.